The Haul Out


Removing the old ablative bottom paint
This may sound crazy but it worked out very well and made the job much easier. I starting off making little but steady progress sanding off the old bottom paint with a combination of 40 and 80 grit sandpaper using an orbital Dewalt sander. This is a messy, toxic, and muscle aching process.
I found that scraping off the old bottom paint went much faster. The paint came off in chips which fell nicely onto a tarp for easy clean up. The key is using a good scraper. I used a Bahco scraper with a long lasting sharp carbide blade. I even purchased a replacement blade but never needed to replace the original blade. Yes, one blade scraped the whole hull and it was still sharp. But more important than needing to replace blades is that a good sharp carbide scraper will remove the bottom paint without gouging the underlying surface. After scraping, a light sanding with 80 grit and it was done.
Below are pictures illustrating the process.
 |
| jack stand patch showing old bottom paint |
 |
| Bahco carbide scraper |
 |
| jack stand patch during scraping with Bahco scraper, after scraping and a lite sanding, the area looks like surrounding |
Keel Fairing
Standard for C&C, the Landfall 38 comes from the factory with an external lead keel bolted through a solid fiberglassed keel stub. Most C&C sailboat exhibit a mostly cosmetic crack along the keel/hull joint. This is commonly referred to as the C&C smile. There are many solutions to deal with the C&C smile, typically ranging from yearly caulking and painting to more long term elaborate fiberglass wrapping. At some point prior, the Johanna Rose had her whole keel fiberglassed over. Unfortunately, the fairing which was used over the whole keel was a polyester based as it (and only the fairing) was full of blisters. From my inspection, it appeared that the work was done using epoxy resin and fiberglass, but for easy sanding, polyester fairing was used over the fiberglass. It may have seemed reasonable at the time, or unwisely justified since a barrier coat was applied over the fairing.
The fairing was removed down to the fiberglass on the keel. The fiberglass was in great shape with absolutely no blistering issues. A gallon of East System epoxy with hardener was purchased along with a gallon of colloidal silica and a gallon of 3M glass spheres from Noah's Marine Supply. First the exposed fiberglass was wetted with epoxy then faired over that with thickened epoxy using a mixture of 50-50 colloidal silica to the 3M glass spheres. As most know, sanding epoxy is a like sanding a rock. Thickening with 3M glass spheres, makes sanding the fairing much easier, but on vertical surfaces you need to add colloidal silica to the mix otherwise the fairing runs and sags. Te West System pumps were used to meter the epoxy (5:1) which greatly aided in making many batches. Once cured, the fairing was sanded with 80 grit using an orbital sander.
The fairing was removed down to the fiberglass on the keel. The fiberglass was in great shape with absolutely no blistering issues. A gallon of East System epoxy with hardener was purchased along with a gallon of colloidal silica and a gallon of 3M glass spheres from Noah's Marine Supply. First the exposed fiberglass was wetted with epoxy then faired over that with thickened epoxy using a mixture of 50-50 colloidal silica to the 3M glass spheres. As most know, sanding epoxy is a like sanding a rock. Thickening with 3M glass spheres, makes sanding the fairing much easier, but on vertical surfaces you need to add colloidal silica to the mix otherwise the fairing runs and sags. Te West System pumps were used to meter the epoxy (5:1) which greatly aided in making many batches. Once cured, the fairing was sanded with 80 grit using an orbital sander.
Barrier Coat
After performing all hull and keel fiberglass, epoxy fairing, and sanding work, an Interlux Interprotect 2000E barrier coat was applied. As recommended by the manufacture, 5 coats of Interprotect 2000E was applied in alternating colors of grey and white. The barrier coats went on without much issue. For the current temperature, each coat required at least 2 hours of drying time before overcoating with additional barrier coat. The last barrier coat required special attention and planning as you needed to apply the bottom paint within a time window(there is a finger print test). In my case, about an hour after applying the last barrier coat, I was applying the bottom ablative paint. Since it took about an hour to apply the last barrier coat, I basically went from barrier painting to bottom painting.
 |
| hull prior to barrier coating |
 |
| first application of Interprotect 2000E |
 |
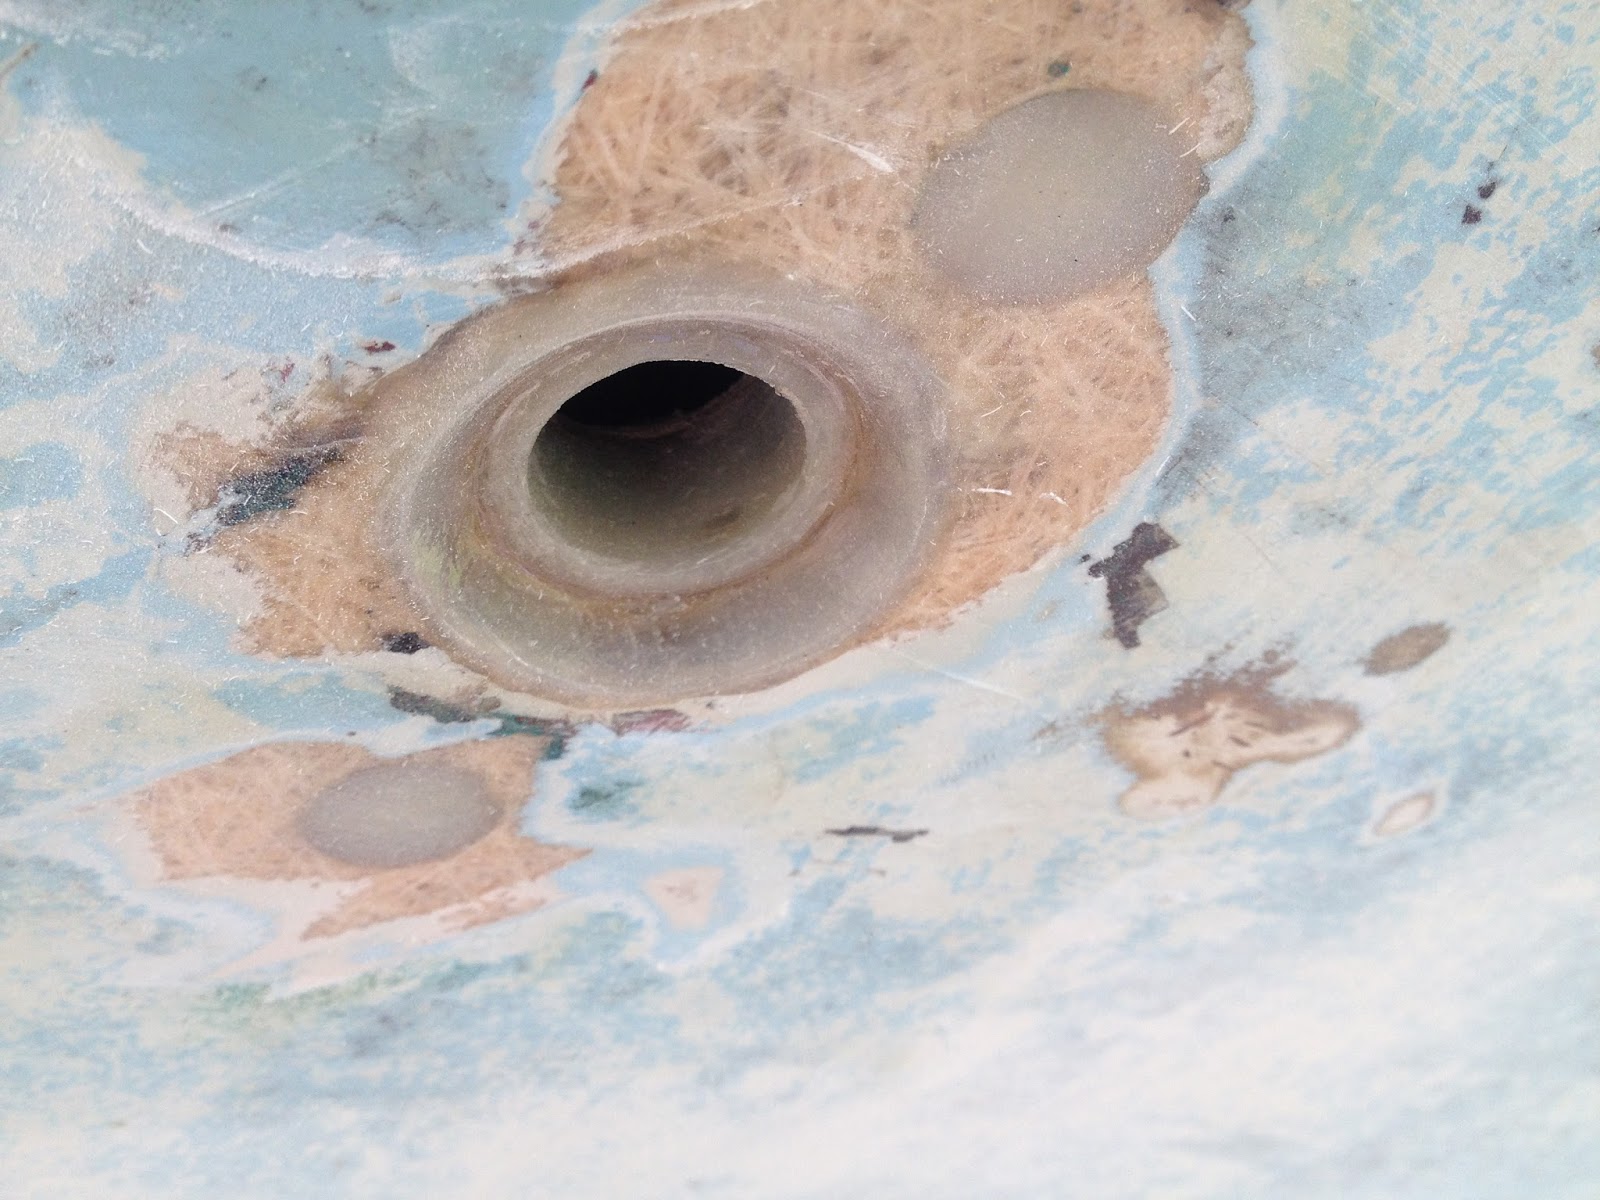
| flush mounted thru-hulls |
 |
| four coats of Interprotect 2000E ready for the fifth coat followed by bottom paint |
 |
| strut with cutlass bearing and shaft removed |
Ablative Antifouling Bottom
Pettit Ultima SR-60 Antifouling Paint was used on my C&C 29, and after several years in the water, the bottom was still looking great. The only problem occurred with the bottom 6" of the keel which was due to the keel sitting in soft silt during the winter low tides. A good stiff brushing did clean this area up and exposed fresh antifouling paint. The rest of the hull would get a little slimy which would be remove with a dive mask every few months wiping with a microfiber wash glove. Based on the good previous results, Pettit Ultima SR-60 was chosen for the antifouling bottom paint. This stuff is a bit expensive, but too often I see people pay half as much for bottom paint but then need to paint 3 times as often.
 |
| bottom painting |
 |
| bottom painting |
 |
| a look from astern |
 |
 |
 |
| bottom with rudder installed and painted |
 |
| propeller, shaft, and new cutlass bearing |
Bottom Paint Performance
I hauled the vessel out at the end of 2017 so that I could install a new refrigeration system which required replacing the galley sink thru-hull and seacock with integrated thru-hull heat exchanger.