The renewing of the forward Atkins & Hoyle hatch completes work which began about 3 back. Details on the materials, costs, and general lens fabrications are documented in an earlier post on
Renewing the Small Atkins & Hoyle Hatches. At the time, enough acrylic was purchased to replace all hatch lenses.
The Old Atkins & Hoyle XR300 Offshore Hatch
Below is a old photo of the forward hatch. When I obtained Johanna Rose, a C&C Landfall 38, the forward hatch above the V-berth was the only hatch which was not leaking (that much). It was in rather ruff shape. The lens was crazed, the hatch seal replaced by several globbed-up beads of a silicone by the previous owner. And while it was a mess, it was still functional, but more importantly, most of the time it was covered by a nice custom-made sunbrella hatch cover. The replacement of this hatch was more complicated than the others due to embedded seals in the lens. As seen below, the hatch has access knobs for opening the hatch on deck. These knobs connect to a shaft handles below, so that turning the knobs also turns the handles allowing for the hatch to open.
 |
| The old Atkins & Hoyle forward hatch |
Removing lens and frame
The hatch top was removed by tapping out the pressed in hinge pin. This hinge pin is long rod which is slightly wider at one end and threaded with an acorn nut on the other. To remove, tap on the acorn nut end to free the pin from hinge, then remove the acros nut and slide out the pin. The remaining hatch hole was covered by an old piece of plywood. To make the cover weather proof, a gasket made from foam pipe insulation lined the hitch rim. The plywood was secured from below by screwing a 2x4 board across the opening in the V-berth and into the plywood.
While the hatch lens work was in progress, Hurricane Michael came. Fortunately we were located 60 mile west of the storm eye and only experienced tropical storm winds and rain, but the temporary hatch cover survived and surprising did not leak.
 |
| Temporary plywood hatch cover |
 |
Weather gasket made from foam pipe
insulation. |
 |
Preparing Johanna Rose to anchor out
for the storm. |
 |
| Johanna Rose safe and sound the day after Hurricane Michael |
 |
Path of Hurricane Michel show our
location as a star with a blue dot due
north in the rain bands. |
Remove old lens and clean frame
The top knobs are held in place with set bolts going through the stainless steel handle shaft. Stainless steel bolts, aluminum, and 35 years in a marine environment ment the bolts were near permanently galled in place. I followed the advise given on youtube and removed the knobs with a pipe wrench, shearing off the screws. Once the knobs are off, the shaft handles can be removed. Removing the old silicone sealant was a chore. I tried some Re-Mov silicone remover, but the best way to remove the old sealant was by brute force with a wire wheel and drill. It took a lot of heat and several applications of PB Blaster to remove the stainless lock pin.
While for previous lens work, new EDPM seals were glued to the frame using Silaprene Adhesive, this time Dow 795 was used. The Dow 795 adheres the EDPM to the frame as good as the Silaprene, the only caveat being that Dow 795 take longer to cure.
 |
| Removing Silicone |
 |
Hatch frame with old sealant seal and
galled stainless lock pin. |
 |
| Frame after silicone removal. |
 |
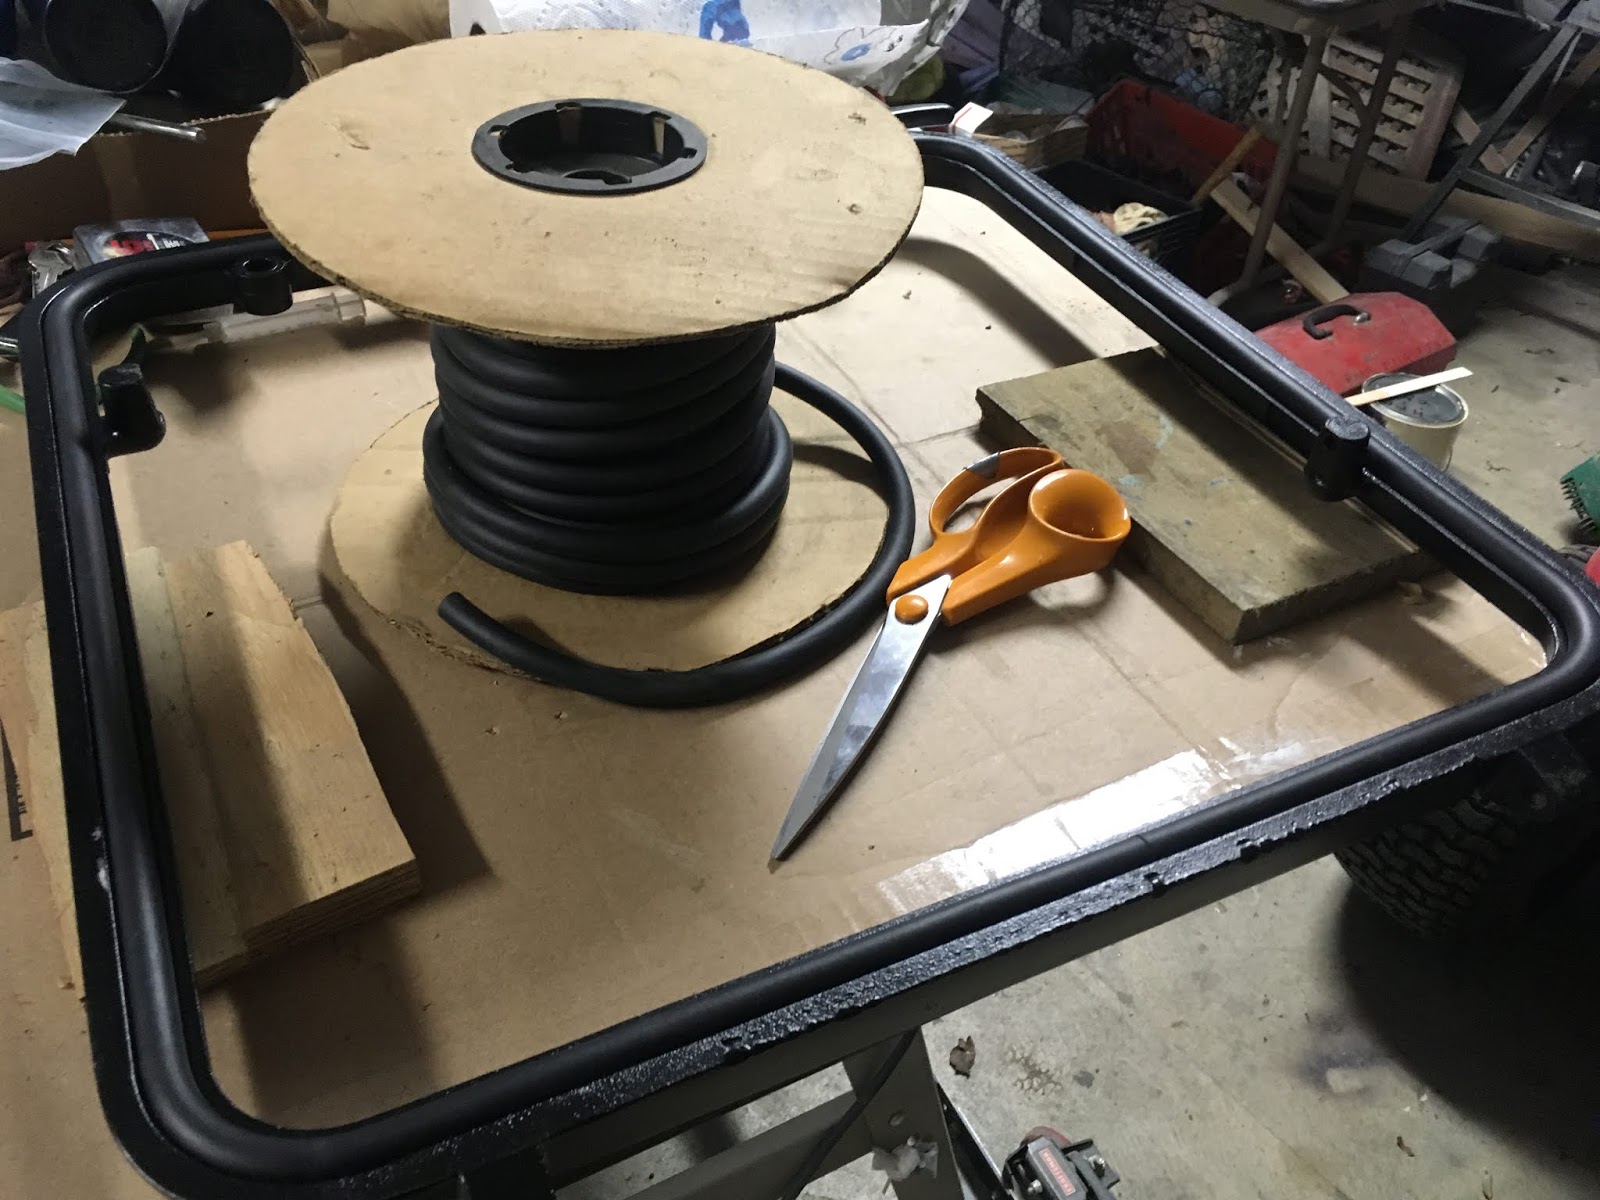
| Installing new EDPM foam cord seal |
Fabricating The New Acrylic Len
Fabricating the new acrylic lens was similar to the earlier work posted. A table saw was used to cut the acrylic to square dimensions whereas the rounded edges were cut on a band saw. Final clean up of the edges were done using a sander. Great care was taken to align and cut the shaft hole. While the seal and recess holes can be cut using Forstner bits, care and much patiences must be taken so as not to creak the acrylic. A better solution is to precisely machine the seal and recess holes. SKF Dual Lip with Spring Rotary Shaft Seals were purchased from McMaster-Carr (item # 40J914). These seals have dimensions: 1/2" ID, 1" OD, 1/4" T (SKF # 4985). The seals were pressed in place by clamping.
 |
| Machined hole and recess with seal |
 |
| Installed seal |
 |
Seals were installed by using
a clamp to press in place. |
Hatch Hardware Work
 |
Handle showing nylon spacers
and plastic spacer tube. |
 |
| Epoxy painting the knobs |
 |
| Teflon spacer |
 |
New plastic spacers were made
from Teflon |
 |
The knobs were secured
using new SS bolts and
tap threading the SS shaft |
 |
The teflon tubes were reused but only
along the inner knob surface. |
Final Installation
Black Dow 795 sealant was used to bed the new lens into the hatch frame. This was done with the frame attached back on the boat. A dry fit was performed taking care to adjust the spacers for proper hatch handle locking. The final step was to bed the lens with the sealant. Prior to lens placement, a good sized bead of sealant was placed in the lower edge of the hatch frame. The lens was then bedded in the frame and additional sealant was added between the outer lens edge and the frame. Immediately afterwards, the excess sealant was cleaned of and all tape and protective covering removed. A weight was added on the lens and the Dow 795 was left to cure.
 |
| Dry fit of hatch lens and hardware before sealing |
 |
| Hatch lens weighted down during the curing of the Dow 795 |
Finished Hatch
 |
| Completed lens replacement |


No comments:
Post a Comment